Required
A precise product description: shape, material, color, and distinctive parts
Record details that must not change between images.
Product imagery
Start with a clear description of the product and the image you need. Claid can help you plan the brief, but check the destination's current access terms before assuming generation or downloads are free.
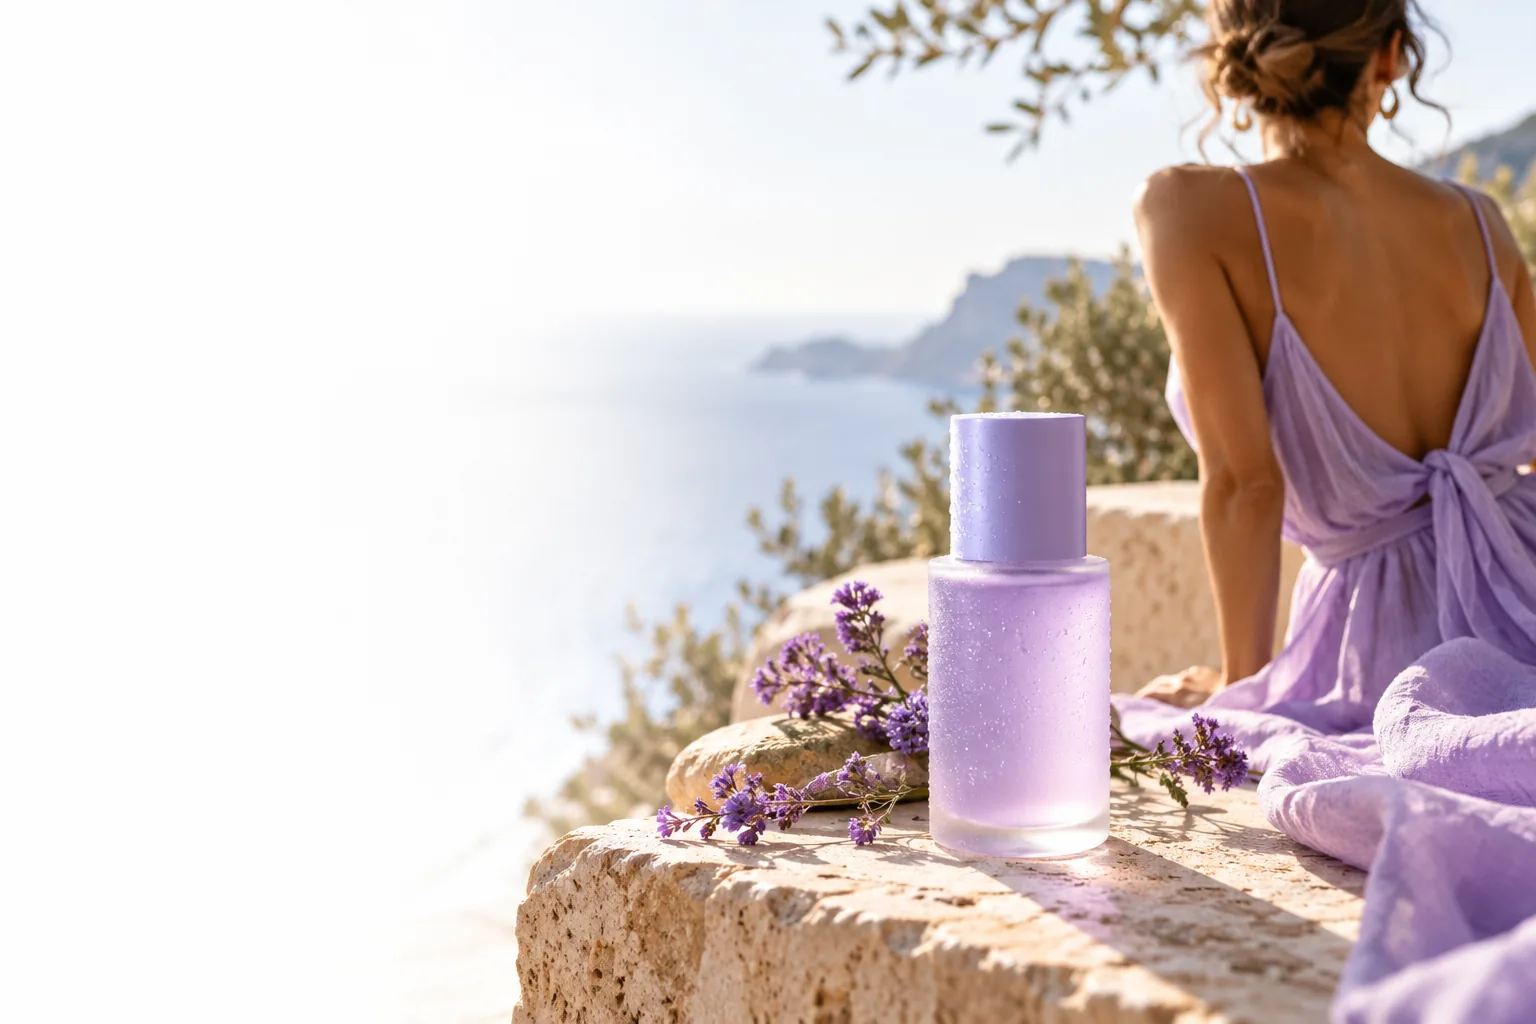
Generating a new scene, planning a shoot, and editing an existing photo solve different problems. Choose the path that matches the material you already have.
Explore how to plan photographic-looking product scenes and evaluate their suitability for a listing.
See how to prepare a shot list and consistent creative direction before trying an online shoot.
Start with an existing photograph when the product itself must remain visually faithful.
A usable brief matters more than a long prompt. Gather the details that an image cannot safely guess, especially when the result will represent a real item.
Record details that must not change between images.
Without one, treat the result as a concept rather than evidence of the actual item.
The intended use determines how strictly you should review accuracy.
These details make revisions easier to describe.
Confirm rights before sharing assets with a third-party service.
Make one believable image before making a collection.
Pick a single product and one intended placement. A bottle for a product listing needs a different composition from the same bottle in a lifestyle campaign; trying to cover both in one request makes the result harder to judge.
Use the first result to test whether the product is recognizable, the surface and shadows make sense, and there is enough room for the intended crop. Revise the brief before requesting more variations.
Here is a repeatable way to move from a product idea to an image you can assess, without assuming any particular controls or output format at the destination.
Describe an amber glass skincare bottle with a black dropper cap. Specify its proportions and any features that must remain unchanged. If you have an authorized reference image, keep it ready for a service that accepts one.
Ask for the bottle on pale stone with soft side lighting, a simple background, and visible space around its edges. State that text and branding should not be invented. Keep the first composition simple enough to inspect.
Compare the result with the real item. Check the cap, bottle shape, label area, reflections, and shadows; then change one instruction at a time. Save an approved brief separately so later images follow the same direction.
Choose a route by how much of the real product must survive the process. These are planning options, not a list of controls promised by Claid or the destination.
Best for early visual concepts when no product photo exists. It can suggest a setting quickly, but packaging details, proportions, and printed words need independent verification.
Prefer this route when you need the image to resemble a particular item. Confirm whether your chosen service accepts reference images, and still compare its output with the source.
Use an authorized original when product identity is more important than inventing a new scene. Changing the surroundings may be easier to review than recreating the item from scratch.
Generated images may alter a cap, invent label text, distort a logo, or show materials the real item does not have. Inspect every result against your source before publishing it. Access, available controls, usage rights, and any free allowance also depend on the destination's current terms; verify those details there before committing to a workflow.
The search phrase does not establish what any particular service includes. Check the destination's current access terms, generation limits, download conditions, and usage rights before starting a project.
A written description can be enough for an exploratory concept. If the image must depict a real item accurately, compare the result with that item and use an authorized reference where the chosen service allows it.
Do not assume so. Review lettering, marks, colors, and placement closely, and use approved brand assets and an appropriate editing workflow when those elements must be exact.
Generate a concept when you are exploring settings or compositions. Start from an existing photo when preserving the real product's shape and details is the priority.