CLAID.AI

Image editing

Make room for ideas with ai generative fill

AI generative fill is useful when the part of an image you want to change is smaller than the whole scene. Describe the edit, then inspect the product edges, shadows and branding before using the result.

Free to start · no signup
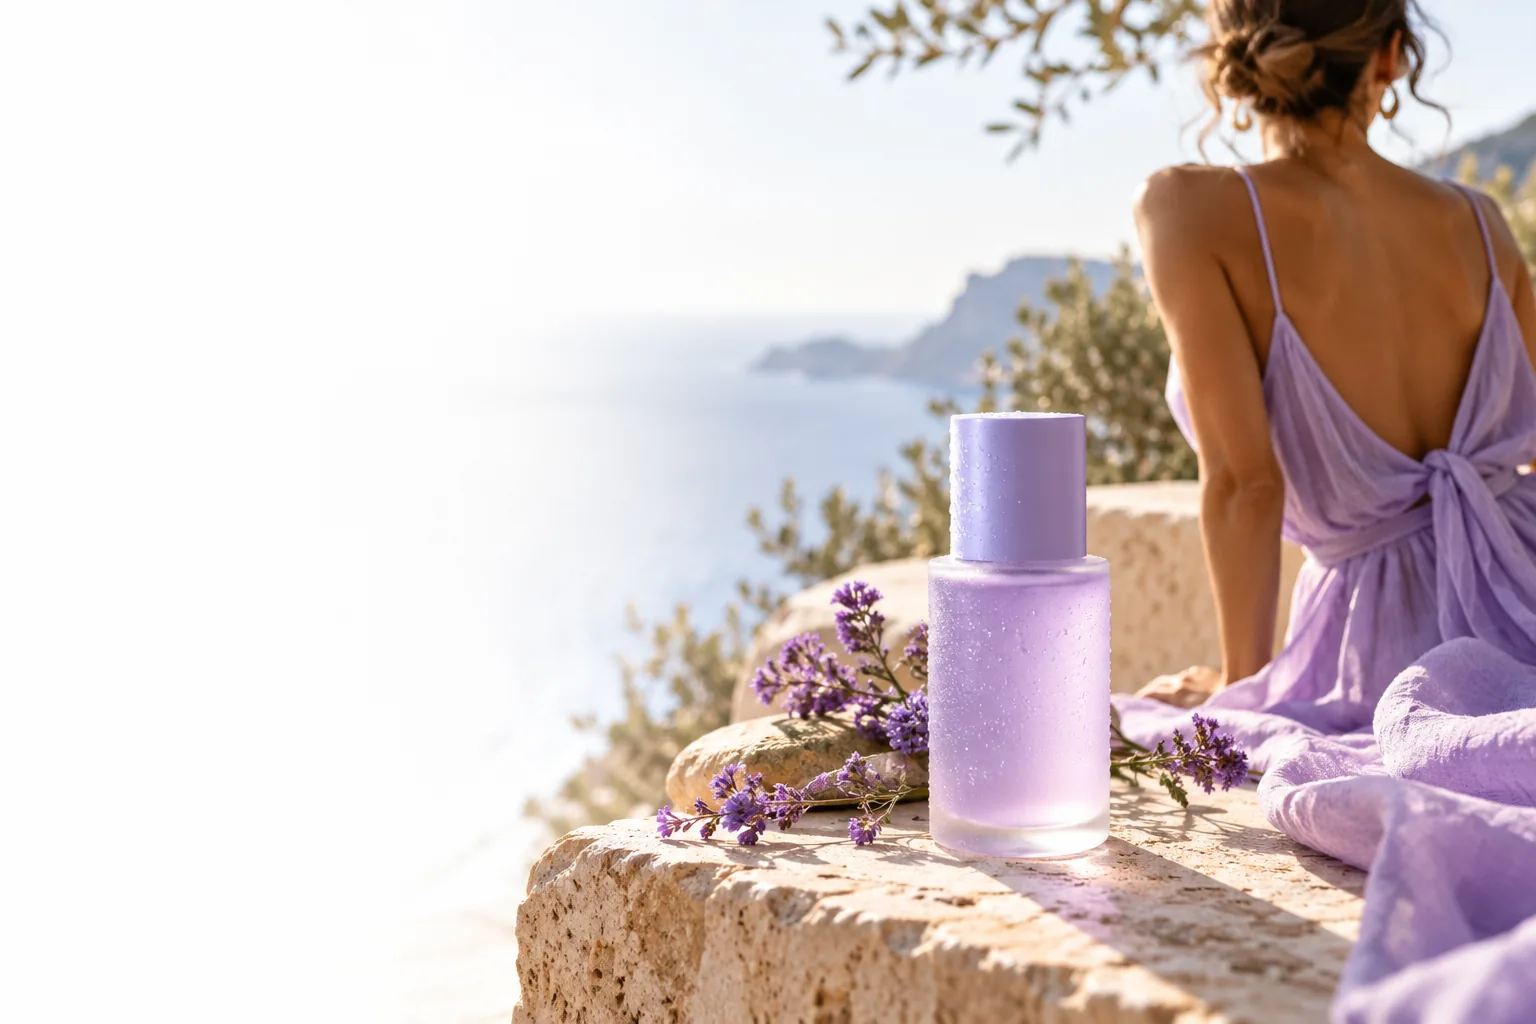
Product photography composition with space around the featured item

This entry point vs the general one

Start with the boundary of the edit: are you changing a selected area, removing the entire backdrop, or cleaning up a small distraction?

Catalog photographer

The product is correctly lit, but the canvas ends too close to its right edge. A selective extension preserves more of the original photograph than rebuilding the scene.

Need the entire backdrop cut away instead? A background remover is the more direct starting point.

background remover
Campaign designer

A seasonal prop belongs beside the product, while the bottle and its printed label must remain untouched.

When the goal is a wholesale setting change, a background changer addresses a different edit.

background changer

Marketplace editor

There is an empty patch of tabletop to complete, not a scratch or dust mark to erase.

For simple unwanted marks, ai photo cleanup is a narrower alternative.

ai photo cleanup

The 3 things only it does

Selective filling can extend a frame, add a local scene detail, or replace one bounded region. Each asks the image model to invent pixels while leaving the rest of the shot as a reference.

Before: limited scene

Concept image illustrating a product composition before a selective scene edit
Concept image illustrating a product composition with a newly filled scene area
After: filled area

Illustrative comparison, not a verified output pair. Match any generated area against the original product photograph before publishing.

How to start

Treat the first result as a draft. A tight edit brief and a careful visual check matter more than a long decorative prompt.

Choose the area

Begin with a source image that clearly shows the subject. Identify only the space to extend or replace; keep packaging, logos and important edges outside the intended edit.

Describe the continuation

State what belongs in the selected area and what must stay fixed. Mention surface, light direction and camera perspective when those details affect continuity.

Inspect the join

Compare the result with the original at full size. Check for warped text, repeated props, broken outlines, inconsistent shadows and changes to the product itself.

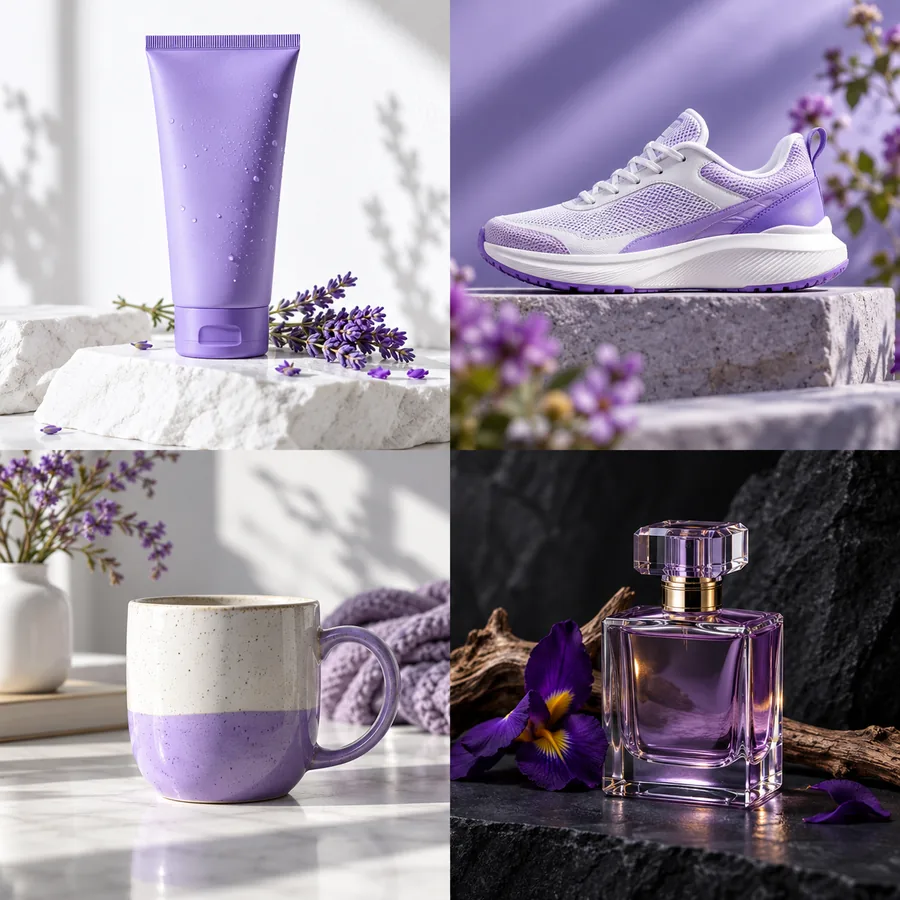
Product image with open space in the surrounding composition

01

Extend space for a new crop

A product may already look right while leaving no room for campaign copy or a wide banner crop. Generative fill can be used to imagine a continuation of the surrounding surface rather than resizing or stretching the bottle. Keep the extension visually quiet so the product remains the point of attention.

  • Describe the surface and light, not a replacement product.
  • Check that the extended area has a consistent horizon.
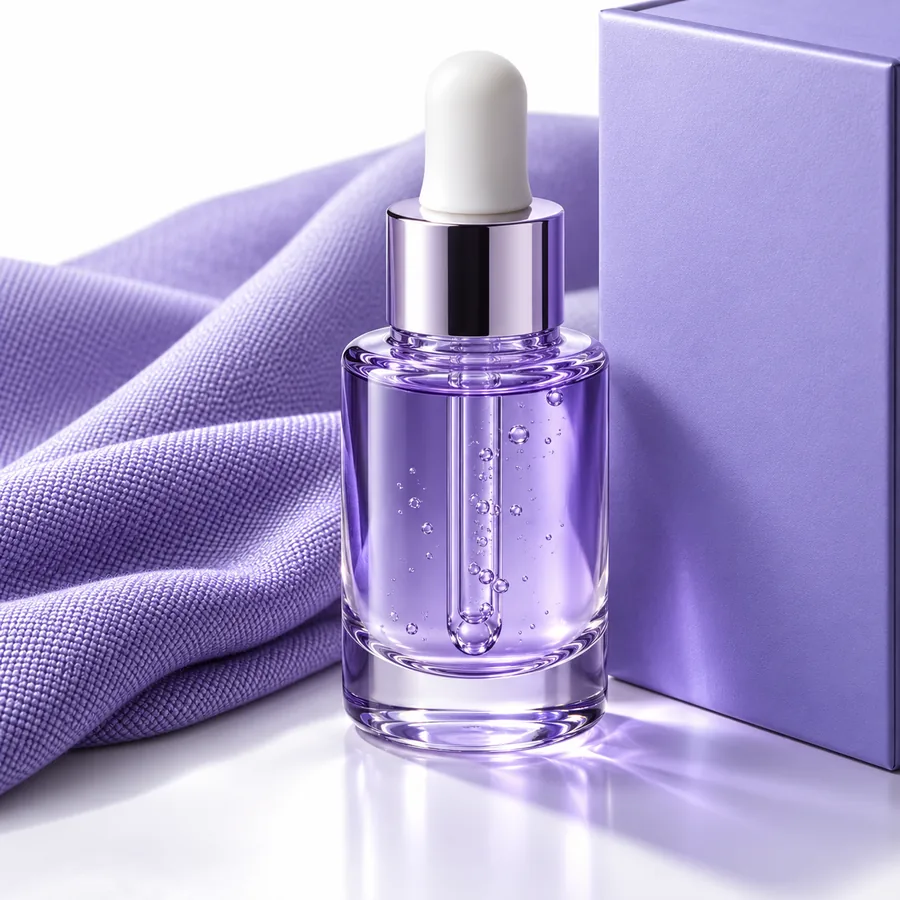
Styled product scene showing surrounding props and textures

02

Introduce one local detail

A small prop, texture or patch of scenery can give a still life more context without changing its central subject. AI fill works best here as a local instruction: specify where the detail belongs and how it should sit within the existing lighting. Review whether its scale makes sense beside the actual product.

  • Keep new objects clear of labels and trademarks.
  • Compare prop scale against the photographed item.
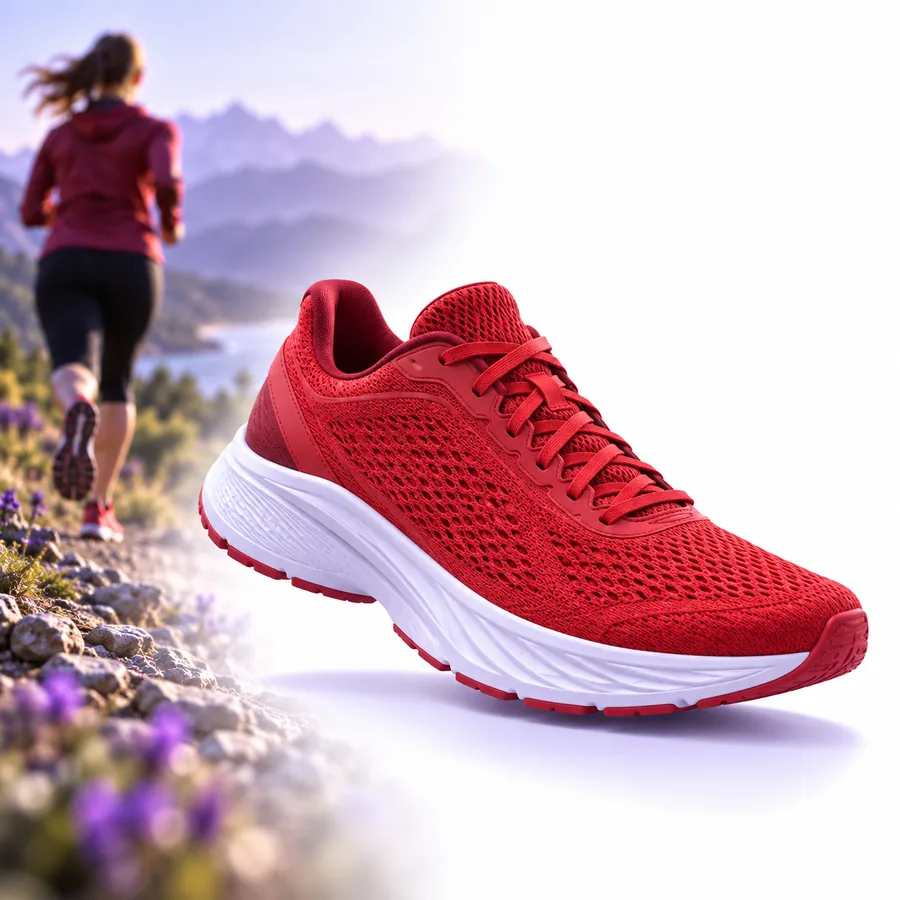
Product photograph with a distinct foreground and background

03

Replace a bounded distraction

If an awkward object occupies part of an otherwise usable scene, replacing that region may be more appropriate than rebuilding the whole photograph. The replacement still needs to match neighboring grain, depth and shadow. For a tiny dust spot, a simpler cleanup edit may be easier to verify.

  • Look closely where the new pixels meet the old ones.
  • Retain the source image for a side-by-side check.

Limits

A convincing scene is not proof that every product detail is accurate. Reserve time to compare any proposed edit with its source.

It cannot verify product identity

AI-generated pixels can alter a logo, label, material finish or silhouette if the edit reaches the subject.

WorkaroundKeep the product outside the edited area and compare branding against the original image.

It cannot guarantee invisible seams

Perspective, texture, grain and lighting may shift where invented pixels meet the photograph.

WorkaroundInspect the boundary at full size and revise the selected area or description if the join is visible.

It cannot establish factual surroundings

An added room, prop or setting may look plausible without depicting a real location or an included product accessory.

WorkaroundUse verified source photography where an image must document actual contents or conditions.

Explore a more deliberate product image

Bring a clear source image and a precise edit idea. Explore image creation options, then review any result for product accuracy before using it in a listing or campaign.

  • Keep the original for comparison
  • Check labels and edges
  • Review at the intended display size

Its own FAQ

It is an approach to creating new pixels in a selected part of an image. Typical goals include extending a tabletop, adding a small scene element or replacing a bounded distraction while retaining the surrounding photograph as a visual reference.

Background removal separates the subject from its backdrop. Filling an area instead asks for new image content in or around a selected region, so the edit may retain much of the original setting.

It can if the selection overlaps the product or the generated area affects its edges. Compare labels, colors, proportions and shadows with the source image before using the result.

Name the area to change, the scene detail you want there and the elements that must remain unchanged. Surface texture, lighting direction and perspective can help make the requested edit more specific.

Start creating
Start creating