1
Main item
Source image
Original shape, materials, and markings
Replacement result
Replacement shape, materials, and markings
Image workflow
A convincing swap keeps the scene believable while making the replacement item recognizable. Start with a clear source image, describe what should change, and inspect the result before publishing it.

Treat the source and proposed result as two separate images to check. A successful swap is not just a new object in roughly the right place.
Source image
Original shape, materials, and markings
Replacement result
Replacement shape, materials, and markings
Source image
Established angle and perspective
Replacement result
Angle and scale should remain plausible
Source image
Highlights follow the original surfaces
Replacement result
Highlights should suit the new surfaces and scene
Source image
Shows where the item meets the surface
Replacement result
Should match the replacement footprint
Source image
Contains the original setting and reflections
Replacement result
Should not retain visible traces of the removed item
Source image
May be legible in the source photograph
Replacement result
Needs separate verification against the real item
Source image
Defined by the original outline
Replacement result
Should not show halos, missing parts, or doubled contours
These site examples are visual references, not verified before-and-after swap pairs. Their original inputs and generation prompts are not documented, so use them to plan checks rather than infer performance.

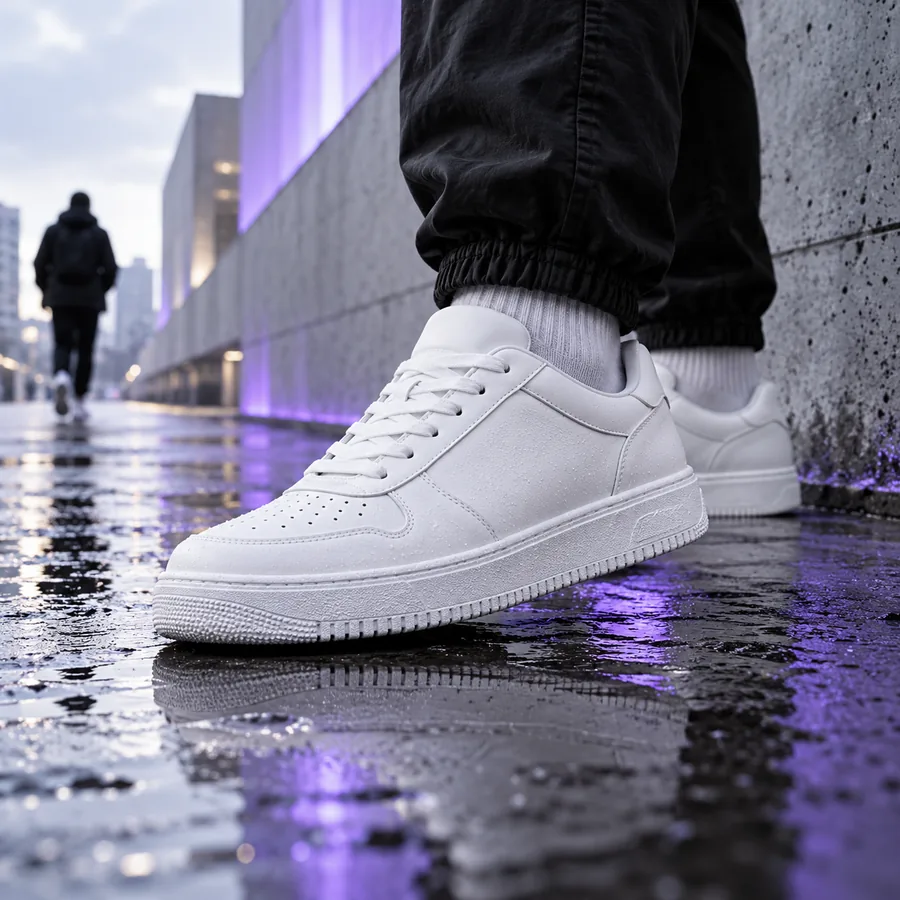
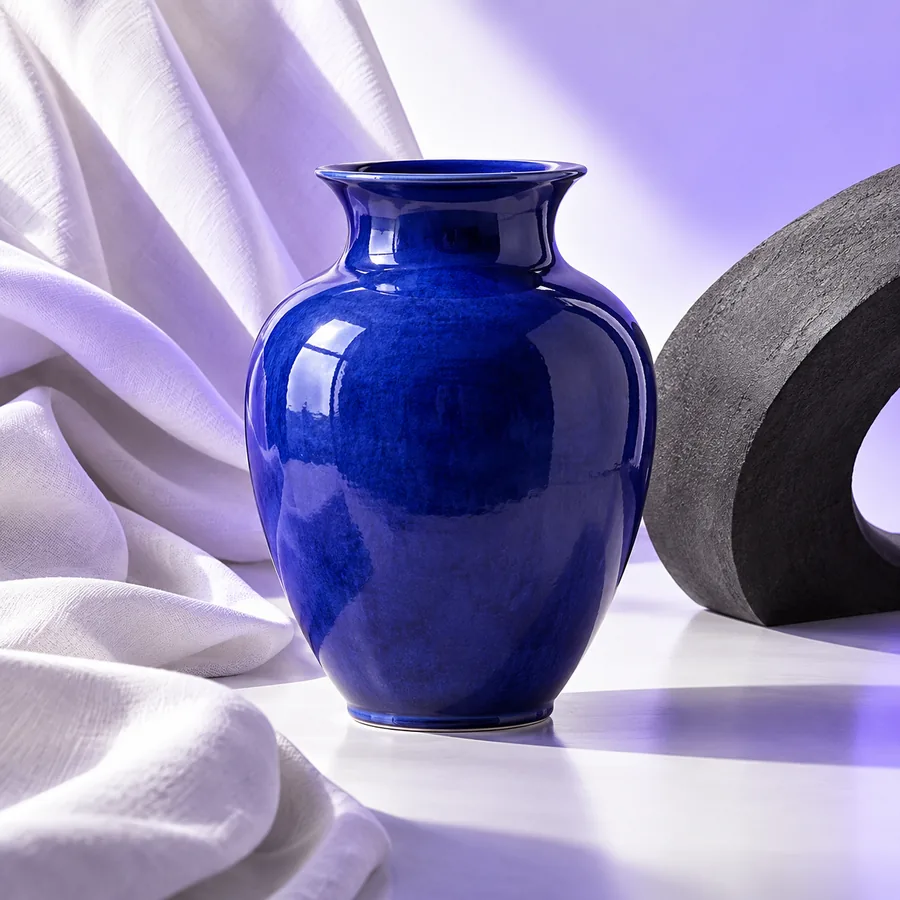
Write down both parts of the request: the item to replace and the scene to preserve. Then choose the next workflow according to what the image needs.
A still replacement is approved, but the campaign also needs movement.
The image to video workflow covers turning a selected still into a motion concept; review motion separately from the still-image swap.
image to videoSeveral compositions are needed for the same replacement item.
The ai image variations workflow explores alternate compositions; compare each candidate against the same item reference.
ai image variationsA chosen still may need a second format for a short campaign.
The image to video workflow is a separate step after selecting and checking the still, not a substitute for checking its details.
image to videoCompare the result with a reliable reference photograph, not just the original scene. Zoom in on packaging text, color, hardware, transparent areas, reflections, and the shadow beneath the item. If a detail is commercially important, verify it independently before publishing. When the scene looks right but the item does not, revise the description of the replacement rather than approving the image on atmosphere alone.
A product swap aims to replace the main item while retaining a useful scene or composition. The result can also affect shadows, reflections, nearby surfaces, and apparent scale, so inspect more than the item's outline.
Keeping the background is a sensible goal, but it should be checked rather than assumed. Look for remnants of the removed item, mismatched reflections, and changes where the replacement meets the scene.
Do not rely on generated packaging text without checking it against the actual item. Names, ingredients, measurements, and other precise markings need particular attention before an image is used publicly.
Choose a clear image with an unobstructed view of the item and enough visible context to judge lighting and scale. A reference image of the replacement helps you check whether its shape, materials, and identifying details are represented accurately.