
CLAID.AI

Product image guide

Plan a background changer edit that keeps your product believable

A new setting can make a product photo feel ready for a different campaign. Start with a clear source image, describe the scene you want, and inspect the product edges before using the result.

Free to start · no signup
Product photography scene presented in Claid's visual style

Prerequisites

The source photo and the scene brief matter more than a long prompt.

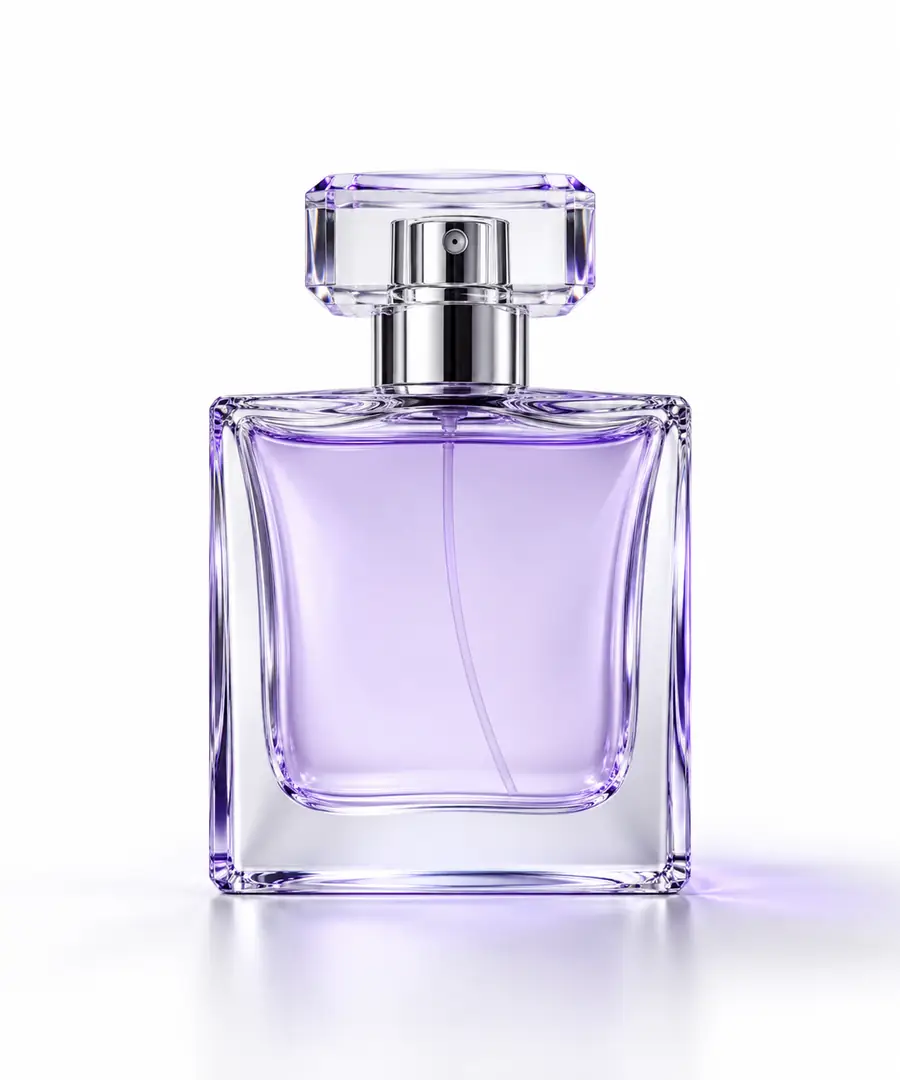
Product photograph illustrating the importance of a clear subject outline

01

Choose a source with readable edges

Use a photo where the product is in focus and its outline is easy to distinguish. Check transparent packaging, reflective metal, fine straps, and loose fabric before you begin: these details can blend into a replacement setting. If the item is cropped by the frame, a new backdrop will not restore the missing shape.

  • Keep the full product in frame.
  • Use the clearest available original.
  • Decide which label and packaging details must stay intact.
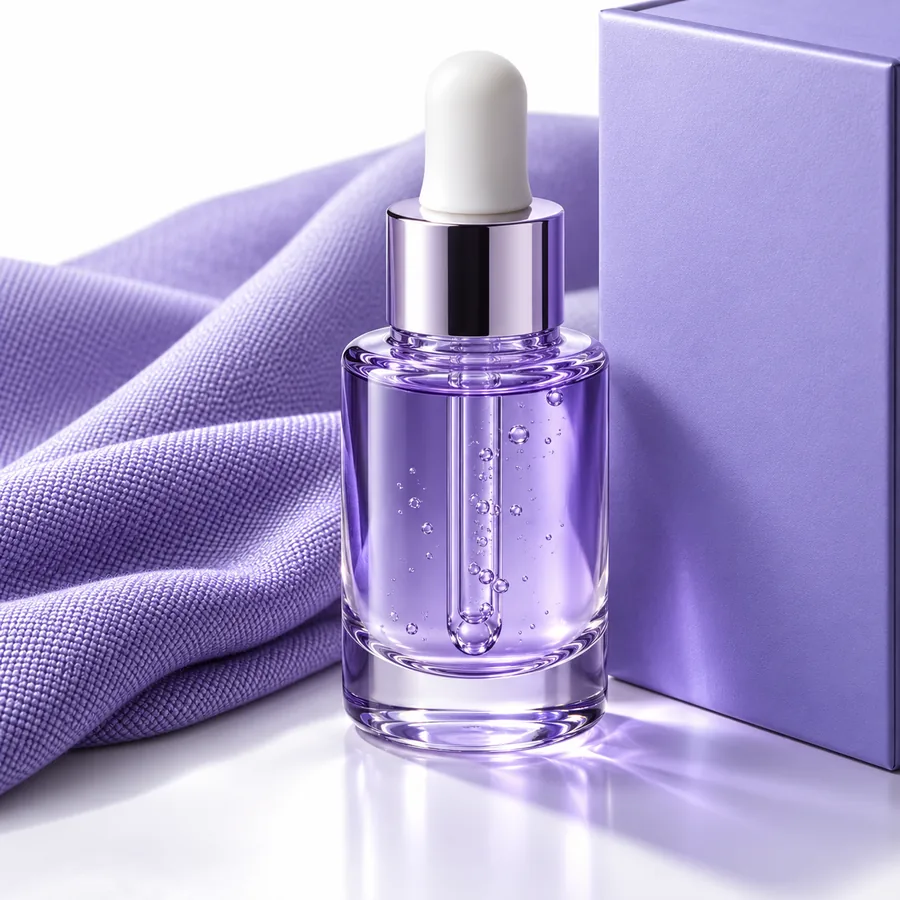
Styled product scene showing a surface, backdrop, and light direction

02

Write a scene brief, not just a color

Name the surface, backdrop, light direction, and intended mood. A brief such as warm stone, pale wall, soft window light gives the scene more structure than beige background alone. Note whether the original shadow should remain plausible or whether the new setting calls for a different one.

  • Match the scene to the product's viewpoint.
  • Leave room around the subject for the intended crop.

One full run-through

Follow a single bottle image from source selection to final review.

Inspect the original

Pick a sharp, front-facing bottle photo with the cap, base, and label visible. Record any small print that must remain legible, and notice where the existing light falls.

Describe the replacement

Ask for the same bottle on warm stone against a pale wall, lit softly from the left. State that the bottle shape, cap, label, and printed text should not change.

Review at full size

Compare the result with the original. Zoom in on the cap, label letters, glass edges, contact shadow, and surface reflection; revise the scene or use a stronger source if those details drift.

Where the workflow branches

The next task depends on what the source image needs before its setting changes.

Catalog editor

A product sits against a busy backdrop that makes its outline hard to judge.

Isolate the item first, then decide whether a clean studio setting or a styled scene suits the listing.

background remover

Campaign designer

The existing set is nearly right, but one part of the composition needs extending.

Keep the usable scene and work on the missing area rather than replacing the entire backdrop.

ai generative fill

Resale photographer

Dust or stray marks remain visible beside an otherwise usable product shot.

Clean the distracting marks before judging whether a new setting is necessary.

ai photo cleanup

Options table

Treat these scene choices as creative directions, not guaranteed controls or presets.

A restrained catalog setting

Choose a plain wall and simple surface when the product, not the surroundings, should carry the image. A background changer brief should name a soft light direction and a grounded shadow so the item does not appear to float.

  • Best for consistent product listings
  • Check edge contrast against the new wall
  • Keep the surface line consistent with the camera angle

A setting with context

Describe a believable place for the item, such as a bathroom shelf for skincare. Keep props secondary and specify their scale and position; crowded scenes can conceal packaging details or draw attention away from the product.

  • Best for showing intended use
  • Check reflections and nearby props
  • Preserve clear space for the final crop

A more expressive campaign image

Use a distinctive surface, stronger color contrast, or directional light when the image is meant to set a mood. Compare the result with the source to catch changes to the product itself, particularly on reflective or translucent materials.

  • Best for campaign concepts
  • Watch for color cast on packaging
  • Inspect fine print before publishing

What fails

A convincing scene still needs a careful product check.

Inspect the source

Product image used as a reference for checking backdrop edits
Product image used as a reference for reviewing the proposed scene
Inspect the proposed edit

The same reference image appears on both sides; this is a review checklist, not a documented before-and-after result. Look for cutout halos, mismatched light, floating shadows, altered labels, and reflections that no longer fit the room. If a flaw touches the product, return to the source rather than masking it with a busier setting.

Prepare your next scene

Start with one product and one clear setting

Use a sharp source, describe the surface and light, then compare the proposed image with the original before putting it to work. Claid's guide can help you frame the task; the linked creation experience may offer different controls.

  • Protect packaging and label details
  • Check shadows and reflections
  • Review the final crop

FAQ

It replaces or reworks the setting around a subject while aiming to keep the subject recognizable. The quality of the result depends on the source image and how well edges, shadows, and reflections fit the proposed scene.

Not always. A clear subject outline may be enough to plan a replacement, but a cluttered or low-contrast source makes edge review especially important.

Common causes include a shadow that points away from the apparent light, a missing contact shadow, a halo around the product, or reflections from the old room. Check these details at full size rather than judging only from a thumbnail.

You can state that the label and printed text must remain intact, but you should verify them against the original afterward. Small lettering and reflective packaging deserve particular attention before an image is published.

Start creating
Start creating